Did you know that you can make maple syrup with just a few supplies and as little as two trees? Whether you are looking to become more self-reliant or just want a fun project to do with the kids tapping trees and making maple syrup is a straight forward project anyone can tackle. Here is a step-by-step guide to making maple syrup for beginners to get you started!
Note: This post contains affiliate links. If you purchase through a link, Hickory Hollow Farm will receive a small commission, at no additional cost to you, used toward keeping our recipes and country life coming to your inbox! I only recommend products I appreciate and trust. Thank you for your support! Full disclosures here.
Making Maple Syrup for Beginners Guide
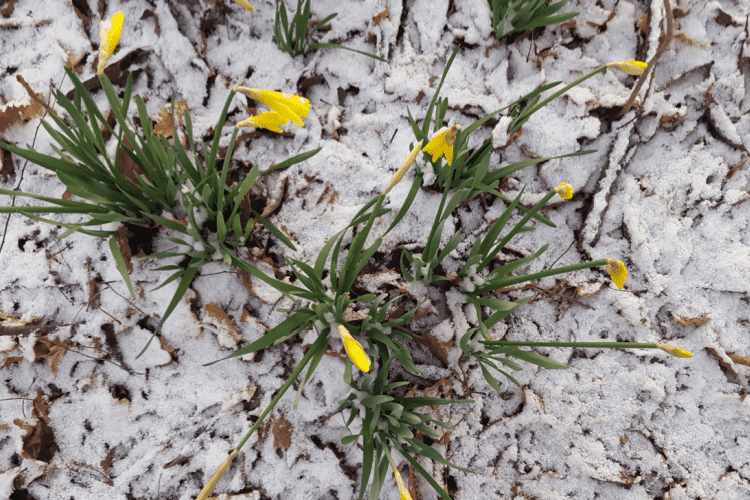
Around February, in North America, the days become slightly warmer, while the nights are still below freezing. These weather conditions are perfect for tapping Maple trees for sap.
Maple Syrup Production Supplies
In order to tap sap and make maple syrup, you just need a few basic supplies.
- Maple trees. We have made Maple syrup when we have had numerous trees to tap and when we only had two!
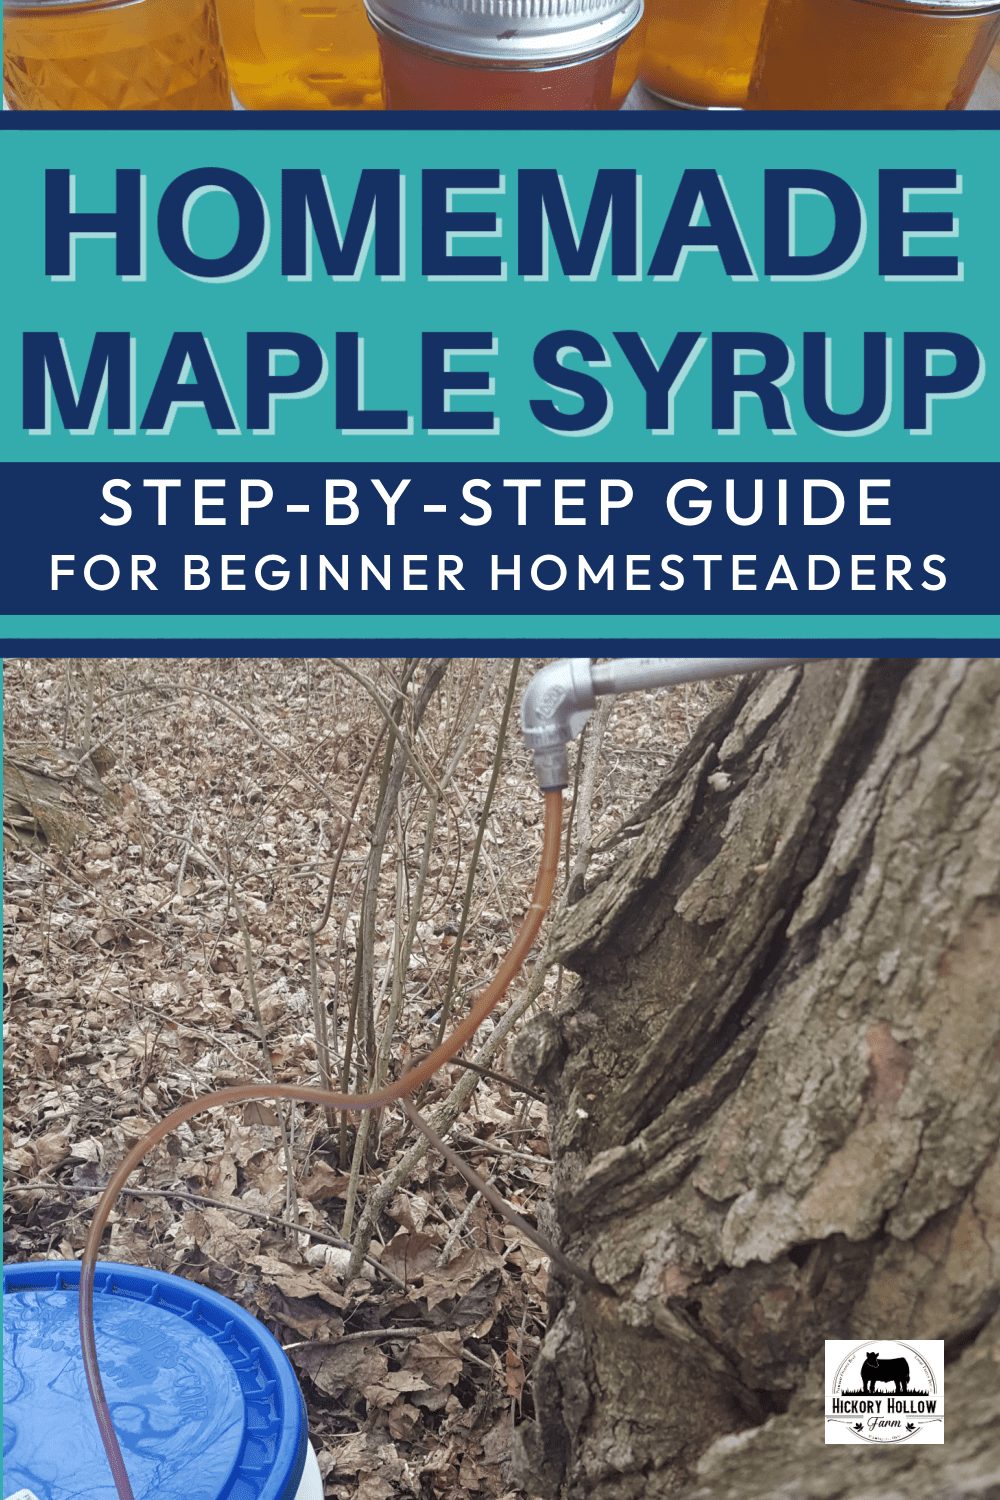
- Spouts. Spouts are placed two inches into the tree.
- Tubing. Clear tubing runs from the spout into your sap bucket or sap bag.
- 5 gallon food grade buckets or sap bag. Sap runs through the clear tubing into the buckets or bags.
- Candy thermometer. A candy thermometer will help you to figure out when the syrup is ready.
- Large pot or Evaporator Pan. It takes 40 gallons of sap to make one gallon of syrup so you’ll need a big pot (s) or pan to cook down the sap.
- Filter or Cheesecloth. If you wish, you can filter your syrup through a filter or a clean cheesecloth once it has boiled down and again, right, before pouring into jars.
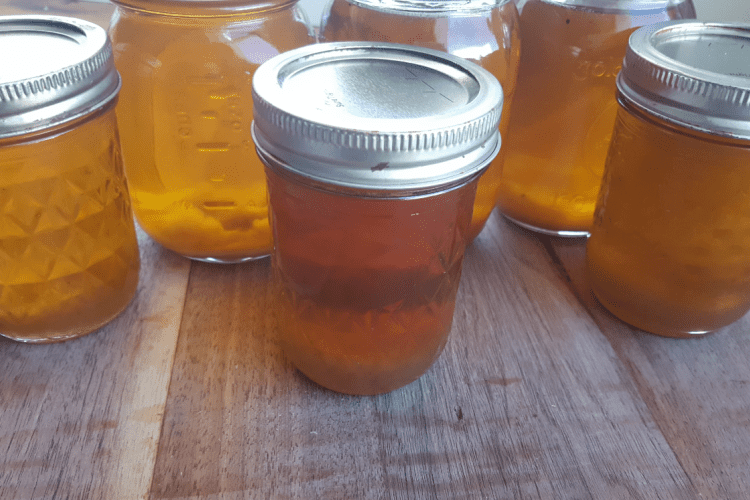
- Canning jars. Glass pin jars are perfect for storing your delicious homemade syrup.
Tapping for Maple Syrup
- Look for Maple trees at least 10 inches in diameter.
- Temperature needs to be below freezing at night and at least 40’s and 50’s during the day for the sap to run.
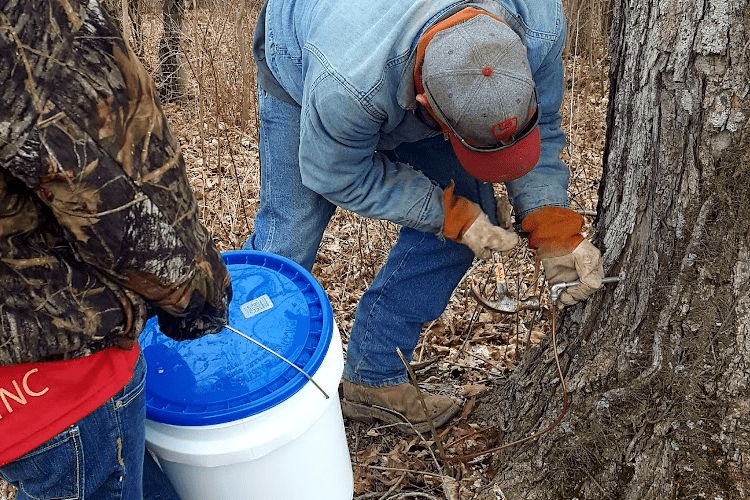
- Hammer or drill spouts about 2 inches into tree.
While other trees can be tapped, maple trees are the best for making maple syrup as they have the highest sugar content. Trees should be at least 10 inches in diameter. If they are not 10 inches around then you run the risk of hurting your tree when you tap it.
Once you have located your Maple trees, which is best done when the leaves are on the tree (ask me how I know this!!), you just have to wait for the right weather conditions. The days should be nice and warm, in the mid 40s and 50’s and the nights must be below freezing. The sap will then run during the warm days in these conditions!
You will hammer your spout into your Maple trees. Or your may wish to drill a small pre-hole to make it easier to hammer your spout into place. If the tree is at least 16-20 inches in diameter, you can place two spouts into one tree.
WATCH video here where I show some of the techniques and supplies we use to make Maple syrup.
Collecting Maple Sap
- Attach clean tubing from spout in tree and run tubing into a bucket at base of tree.
- Check buckets daily and empty.
- Start the boiling down process or place sap into fridge to prevent sap from spoiling.
Next you’ll need to attach, clear tubing from your spout into a bucket or sap bag. We use food grade buckets that you can buy at Lowes or Home Depot. Place the buckets at the base of the trees with the clear tubing running from the spout into the bucket.
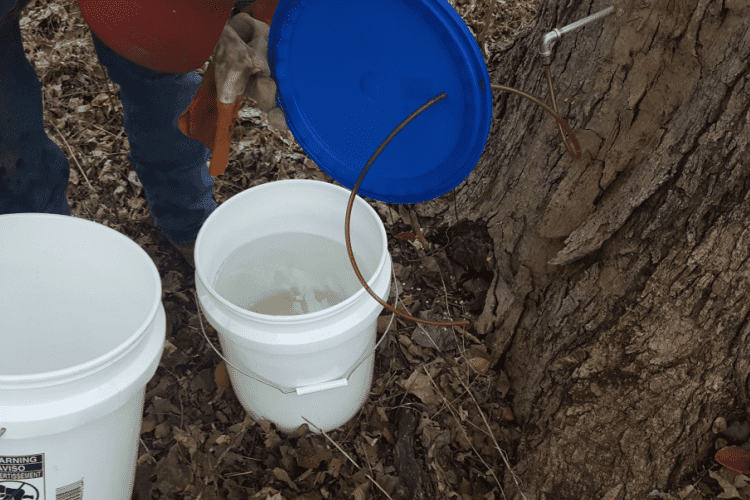
We drill small holes into the lids so that the lids can be placed on bucket with the tubing runs through the hole. Since the buckets are sitting outside, you don’t want leaves or bugs dropping into your sap so a lid is essential. Place a rock on the top of the lid of the bucket, to keep it steady and the lid on.
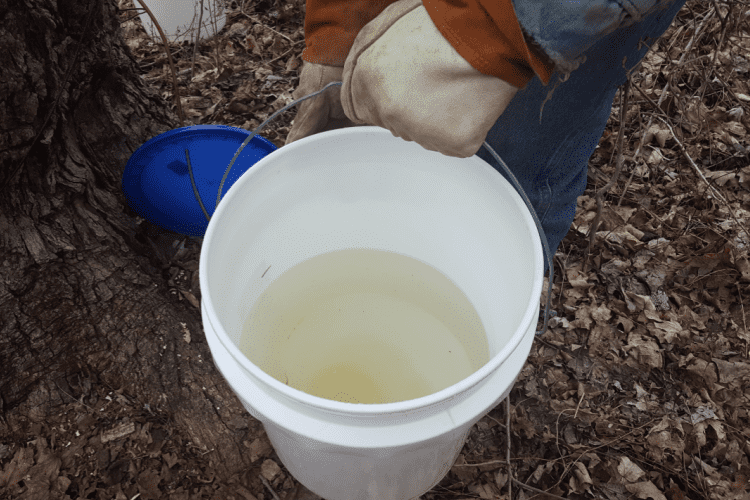
After a day, head back to check your buckets! Sap looks like water. How much sap you have will depend on the tree and on how good the temperature range is.
Empty your buckets at least once a day, even if the buckets are not full. Sap is pretty stable and easy to work with. However, sap will go bad if you allow it to linger at warmer temperatures too long, without starting the boiling process.
If you don’t have enough to work with yet, you can empty into one container and store in the fridge.
Making Maple Syrup
- Measure your syrup before boiling.
- 40 gallons of sap will make about one gallon of syrup. But you can make smaller batches with less sap.
- Boil sap down in an area that has ventilation as it takes a long time and makes a lot of steam.
- After most of the water has boiled off, move your syrup to a small pot or saucepan to keep a close eye on it.
- Pour through a filter for the first time before moving into the smaller pot.
- Continue to boil syrup.
- Syrup is ready when candy thermometer reached around 219 degrees F.
- Filter a second time and then pour into clean sterilized jars.
Now, the fun begins. You need to boil down your sap to make maple syrup!
As mentioned before, you’ll want to measure your syrup. It takes about 40 gallons to make 1 gallon. Don’t worry, you don’t need to have 40 gallons, you just need to remember that ratio. For example if you have 40 pints of maple sap, you’ll end up with about 1 pint of actual Maple syrup.
Once you have measured, you’ll want to put your sap into large pots to boil. You can use several big pots on your stove top. You can build a fire outside and put your pots on to boil. Or you can use a turkey fryer (which is what we have often done) and boil down your sap. Or you can purchase one of these handy evaporator pans!
Keep in mind a couple things as you create your plan. You will be boiling sap for awhile to evaporate the water. And there will be a lot of steam. So try to choose a set-up that will work for you where you have plenty of ventilation.
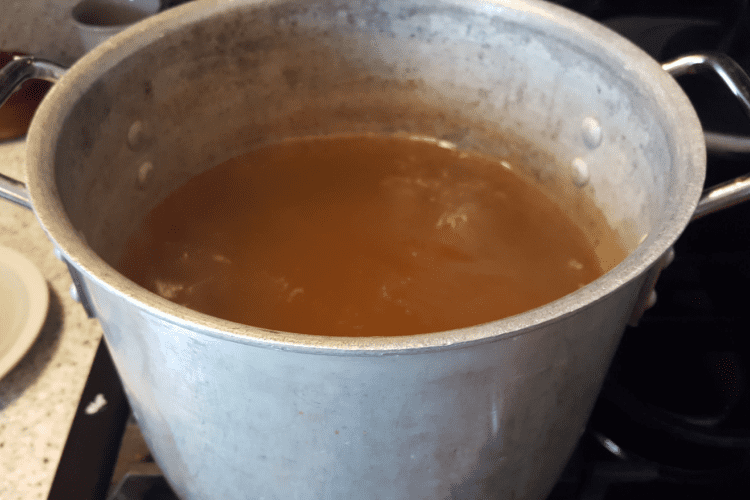
Since we are just making syrup for us, I tend to like to use the stovetop. But on occasion that has not worked as my pot was too tall to fit on the stovetop. So we used a turkey fryer and propane tank stove outside. And one time we used an evaporator pan that my husband made.
As the sap boils down to the last bit, I will pour my syrup into a small saucepan to really keep an eye on it. If you are going to filter your syrup, now is a good time to filter it the first time to remove sugar sand.
If you cook your syrup too long it will crystallize some. If you don’t cook it long enough it will be thin or may have a shorter shelf life. Syrup is done at 219 degrees F or 7 degrees over the boiling point for water (212 F degrees). If you want to be more precise, you can test what water is boiling at before starting your maple syrup making process, as the weather will affect water boiling temperature by a few degrees.
Even if your maple syrup has sugar crystals in it, it will still be tasty and edible. You can strain out some of the crystals by pouring it through a filter, for a second time, such as a cheesecloth, coffee filter or an orlon cone filter.
But not to worry, even if you end up with some sugar sand or sugar crystals, your Maple syrup will still be very good! And if you are just making it for yourself, it does not matter as much.
Canning your Homemade Maple Syrup
Once your maple syrup is ready and strained for the second time, pour or ladle it into clean sterilized jars. Add your canning lids and ring and hand tighten. Then flip your jars upside down in order to seal.
Sugaring for Beginners
When you are starting out, there is a lot to learn. So here are some tips to help your backyard maple syrup production be more successful.
- Place a brick or rock on top of your bucket. This keeps your bucket from blowing over before it gets some sap in the bottom. And a rock on the lid keeps the lid closed. If you snap the lid closed, they are often hard to get open, especially when they are full.
- When the sap comes out of the tree it looks like water. But don’t be fooled! The sap will have a very slight sweet taste and will make delicious maple syrup.
- Measure the syrup before you start boiling. Measuring will help you know when you are getting closer to being done. When you are getting close to the sap turning into syrup, you may want to move it to a smaller pan. This will prevent you from burning your syrup. Remember the ratio 40 gallons makes 1 gallon of syrup.
- Keep up a steady boil on your syrup. I tend to keep a good boil without having a rolling boil as I don’t want to burn my syrup. However, if you just allow the sap to simmer, your sap may go bad. The first time we made syrup it went sour as we allowed it to simmer for too long instead of a steady boil.
- For at home maple sugaring, make your syrup in small batches. I tend to like to start when I have 10 gallons (2 – 5 gallons full). I can typically get that done in one day.
How to Make Maple Syrup
Making Maple syrup is such a rewarding family project and homesteading skill! Enjoy! And comment below if you have any other tips on maple sugaring. Or if you have any questions!